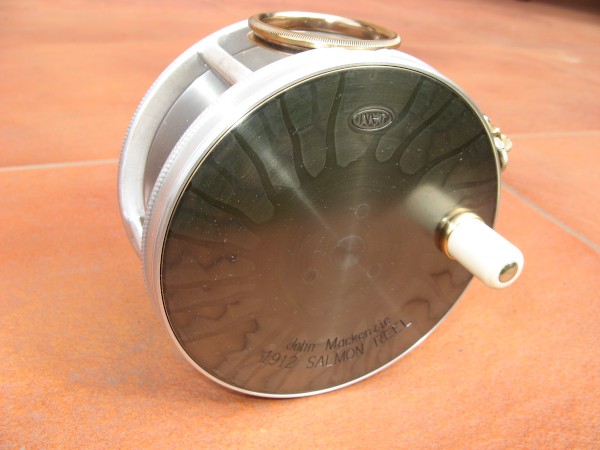
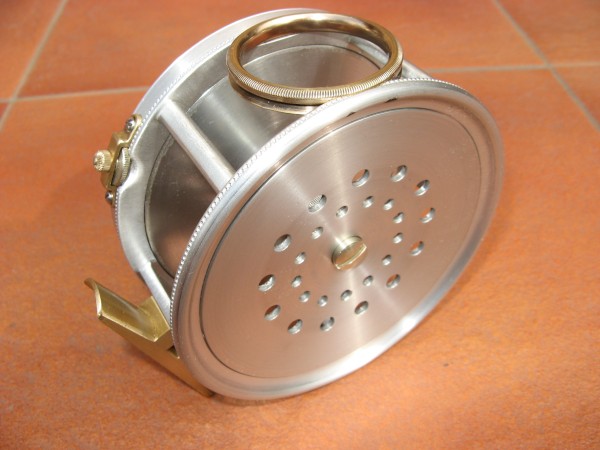
A 4 inch wide drum reel I made for a very close friend.
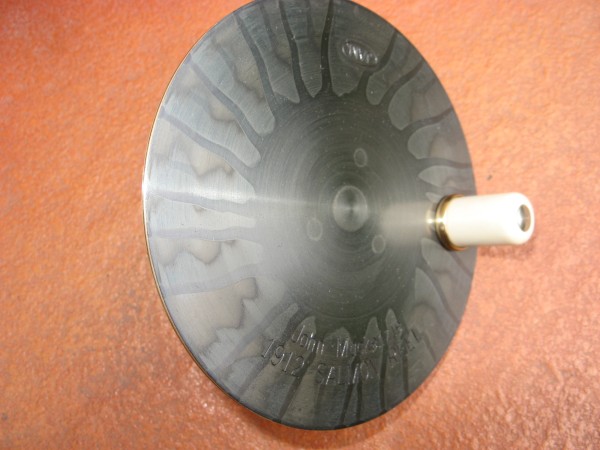
John Mackenzie
1912 SALMON REEL
Stage 1
Some original Hardy sand and metal mould cast frames, spools and winding plate blanks
Stage 2
1st Stage of machining a Duralumin frame
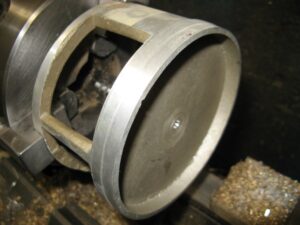
Stage 3
Machining the internal diameter and facing off the inside of the casting
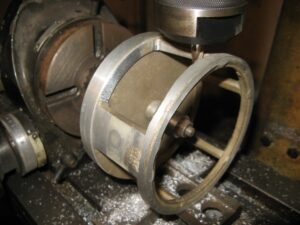
Stage 4
Milling the frame windows
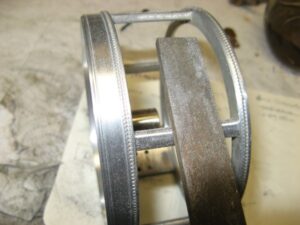
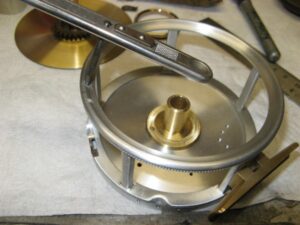
Stage 5
Turning and milling operations completed, knurling done and a hand made bearing bush in place. Also filing the pillars to a nice contor
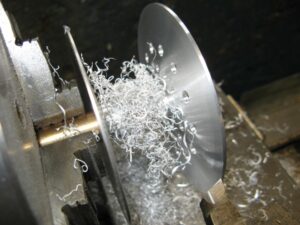
Stage 6
500 grit wet/dry paper giving a nice finish
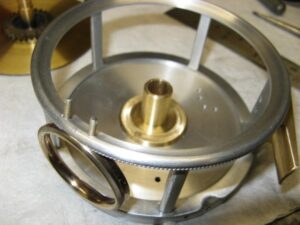
Stage 7
Turning the inside diameter of the frame
Stage 8
Rough turning of a Duralumin casting to make a spool
Stage 9
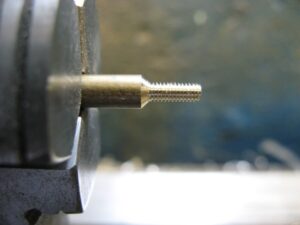
At this point I have the spool almost complete. The internal bore is finished as is the 5/16 BSF thread which will match the winding plate spindle
Stage 10
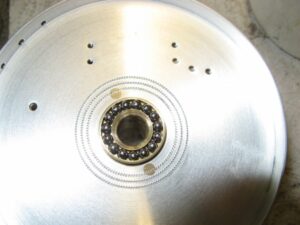
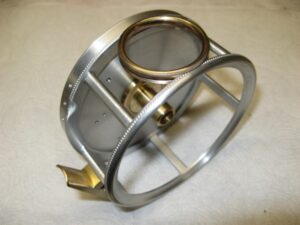
The frame is finished and the ball bearings are in place. I have used masking tape on the inside of the reel and using a pencil I mark out the drilling positions for the check system
Stage 11
The mounting holes have been drilled a taped and I have done the same for the adjusting screw position and the over strap mounting holes
Stage 12
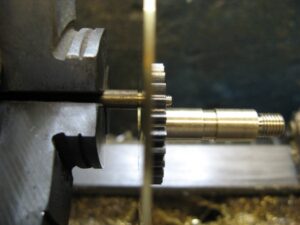
A finished winding plate spindle and a standard Hardy check wheel. The brass plate is 1/16 inch thick and this will become the winding plate
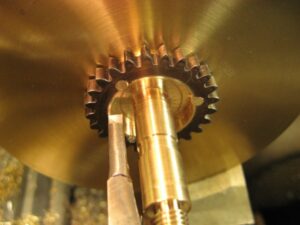
Stage 13
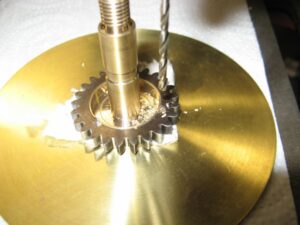
Using a small diameter diamond dremel bit I ground three position on the inside of the check wheel. The wheel is put onto the winding plate spindle and drilled with a tapping size drill to ensure I get a nice hole before tapping the holes
Stage 14
Machining the brass plate to get a round disk for the reels winding plate
Stage 15
Outside diameter done and now machining the inside diameter to suit the reverse end of the winding plate spindle
Stage 16
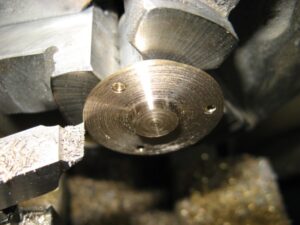
Trimming the back end of the winding plate spindle
Stage 17
Three parts push fitted together
Stage 18
Using the same tapping drill to make three holes through the winding plate. Then I remove the spindle and check wheel and drill clearance holes in the plate. These holes are then countersunk @ 45 degrees
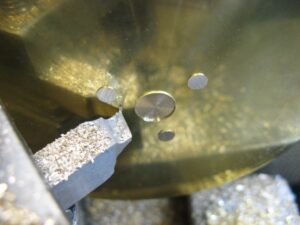
Stage 19
45 degree screws
Stage 20
The screws locked in place pulling the check wheel assembly tight onto the winding plate
Stage 21
Skimming off the heads of the screws
Stage 22
Skimming off the front of the screws
Stage 23
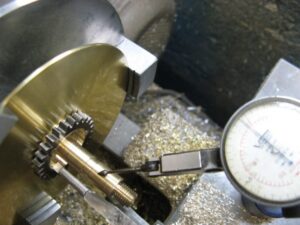
Dial Test Indicator used to ensure the winding plate assembly is running true in my lathe and then skimming off the edges of the screws that have just gone through the edge of the bearing surface on the winding plate bush
Stage 24
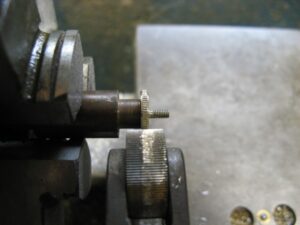
Making the check adjusting screw
Stage 25
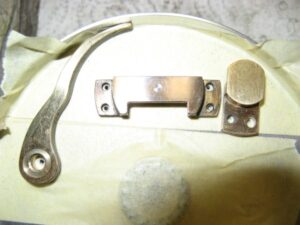
The adjusting screw in place with a Turks head locking nut and the adjusting block I had made. This gave the correct position to drill and tap the screw holes for the over strap which can be seen in stage 11
Stage 26
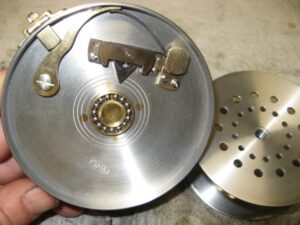
A dry build at this stage of all of these parts i made to make sure the check system works as it should.
Stage 27
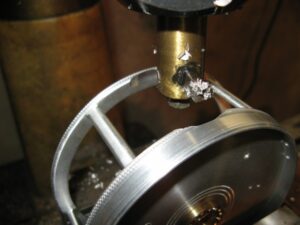
Using my home made treppaning cutter to make the recess for the line guide
Stage 28
Recess complete and de-burred and foot fitted
Stage 29
One of my gold plated line guides offered into the recess to confirm the fit
Stage 30
Drilled and tapping the holes to take two threaded pins that keep the line guide in place
Stage 31
A dry fit of the pointed pins
Stage 32
Thread lock to hold the pins in place and these will but cut off and then the ends blended into the contour of the frame
Stage 33
Nickel Silver handle wire
Stage 34
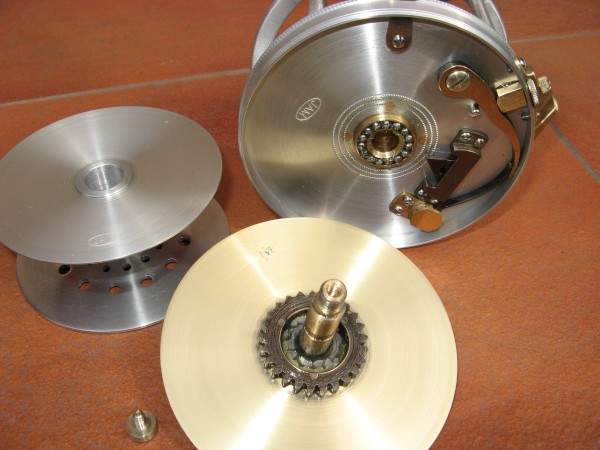
Handle wire, brass cup and a replica ivory winding handle ready to be fitted to the winding plate.
And below a few detailed photos of the finished reel